
Back when I was in High School, I took part in a Co-Op Program through my Vocational Technical School. This allowed me to get a part-time job and spend time learning through on-the-job training in place of going to my usual Cabinetmaking Class. It was a great experience that really opened my eyes to the difference between Residential Cabinetmaking and Commercial Millwork.
In the first few years that I worked in a Commercial Millwork Shop, I didn’t see much in the way of Framed Cabinets. The bulk of our work was big runs of Plastic Laminate Cabinets. That all changed when I decided to make a change and accept a position in a small Custom Cabinet Shop. Suddenly, Framed Cabinets were the norm and Frameless Cabinets became a rarity.
A Framed Cabinet is a cabinet that is constructed to utilize a Face Frame. This method of construction typically requires that a Face Frame be assembled as an independent unit and applied to the face of the cabinet. The Door Style most commonly associated with this type of Cabinet is Inset.
Types of Face Frames
Cabinet Face Frames come in all shapes and sizes and do a wonderful job of showcasing design. An Architect or Designer can choose a Plain Inset Frame with Shaker Style Door for a simplistic design or go all out by placing an Elaborate 5-Piece Door inside of the Face Frame with a Decorative Framing Bead.
Regardless of how elaborate the design – Framed Cabinets ultimately come down to an assembled frame being attached to the face of the cabinet. Understanding this simple fact helps reduce some of the intimidation that comes with Drafting and Designing Framed Cabinets.
Square Framing Bead
The Square Framing Bead is the simplest form of a Face Frame as it utilizes square edges. I’m not sure where the term Square Framing Bead comes from as it is a bit of a misnomer – there is no bead.
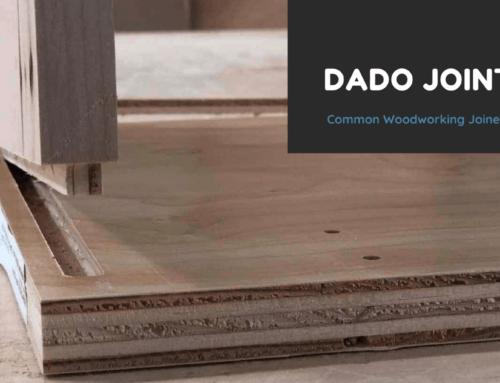
This type of Face Frame is made up of square stock to create Vertical Stiles and Horizontal Rails. They are joined together several different ways but the most common is by way of Mortise and Tenon or Pocket Screws. Once assembled, the frame is glued onto the face of the cabinet.
The most common Door Styles associated with this type of construction are either Plain Inset (square door sitting inside of a square frame) or Lipped (door is rabbeted to partially overlay the face frame so that it protrudes out of the opening).

Decorative Framing Bead
The Decorative Framing bead is a more elaborate style of Face Frame and utilizes a profile around the opening. The profile can either be an applied molding that is mitered or it can be part of the Frame and haunched where the Stiles and Rails come together.
The shape and size of the decorative framing bead can vary greatly and may can range from a simple bead to an elaborate shape. It really comes down to the imagination of the designer. Typically when a Decorative Framing Bead is used, the door will be Inset. This allows the door to sit inside the frame to showcase the profile.
Much like a Square Framing Bead, this style of Face Frame is typically assembled with Mortise and Tenon Joinery or by way of Pocket Screws. The completed frame is then glued to the face of the cabinet.

How to Draw Framed Cabinets
When it comes to producing Shop Drawings for Framed Cabinets – the process is a little more involved than drawing Frameless Cabinets. The reason for this is that we have more components that need to be accounted for and detailed on our finished drawings.
We need to account for Vertical Stiles, Horizontal Rails, and any decorative features such as Pegs or Exposed Nails (Exposed Nails are more common on period reproduction cabinetry). While the Face Frame Joinery doesn’t typically need to be detailed at smaller scale, a large scale detail should be provided to show typical construction.
In the examples below, we show different cabinet configurations – all of which are situated between two walls in a small alcove. In addition to the cabinet itself, each example shows an extended stile on either side (to serve as scribe) and a counter top.
Plan View
When Framed Cabinets are drawn in Plan View – there is a bit of difference between Commercial and Residential Applications. Commercial Casework Plans often eliminate the Base Cabinet and focus on the construction of the Counter Top. Residential Plans, on the other hand, typically show the base cabinet as we have done below.
It is worth noting that Superior Shop Drawings will always show the base cabinet below the counter top – unless the customer expressly requests that it be removed (and in those cases it is still drawn – it is just setup so that it will not print).
In this instance we are showing our Base Cabinets with an Inset Door and a 3/32″ Gap. The cabinet construction will utilize a 1/2″ Cabinet Back that is dadoed into the Case Sides.

Elevation View
In a very basic drawing with limited detail – you could get away with just showing the Door and/or Drawer Configuration and how they are situated in the Face Frame. Here at Superior Shop Drawings, we like to include the Door Gap around the perimeter- which is typically 3/32″.
Our examples below show various configurations of Framed Cabinets from a Standard Base to a Drawer Bases (with and without Mid-Rails).

Section View
Like Plan Views, Section Views can show a wide variation in construction techniques based on the Cabinet Shop manufacturing the product. Our examples below show the same 1/2″ Back dadoed into the Case Sides. In addition, this particular manufacturer prefers that their Case Bottom and Tops extend into the opening to serve as a Door Stop. This creates a situation where the frame must be thicker than the door to allow space for a Door Bumper.

Detail View
From time to time it is helpful to detail your Face Frame – especially if it is part of a High-End Residential Project where the homeowner is paying a premium. In these cases, it is worth producing a detail outlining how typical frame members will fit together.
In the example below we have a Beaded Frame with Mortise and Tenon Joinery. The bead is haunched – which makes the frame a little tricky to produce in conjunction with the joinery. While tricky (and labor intensive when compared to a simple pocket screw), this is creates a very strong Face Frame that is unlikely to come apart over years of use.

We’re Here to Help
It is our hope that you now have a solid understanding of Framed Cabinets and how to utilize them in your next project. As always, if you have any questions or would like to see another topic covered here on Superior Shop Drawings – drop us a line in the comment section below!
This simple position allowed him to get his proverbial foot in the door and choose Cabinetmaking as a Career path in High School.
With more than twenty years of combined experience as both a Cabinetmaker and Draftsman - Walt uses his experience to Engineer and Produce Millwork Shop Drawings.
- Millwork Shop Drawings: Training Survey - May 5, 2024
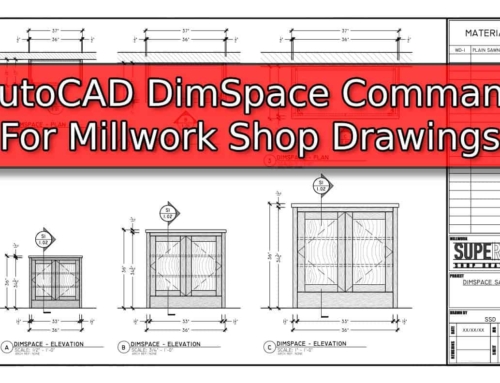
- Optimize Your Shop Drawings: Exploring the Power of theAutoCAD DimSpace Command - December 5, 2023
- The 4 Grades of Kitchen Cabinets: What Does It All Mean? - November 28, 2023
