
About fifteen years ago, I started working at a small cabinet shop in Southeast Pennsylvania. At the time, I had just left an Architectural Millwork company that specialized in Plastic Laminate Casework.
The small cabinet shop was a big change for me. Plastic Laminate and Particleboard were like swear-words to these cabinetmakers that were focused on making custom furniture for the residential market.
One of the many highlights from that work experience was getting to make molding – I especially liked making radius molding. There was something about cutting radius fences and making various types of sleds that I found oddly satisfying.
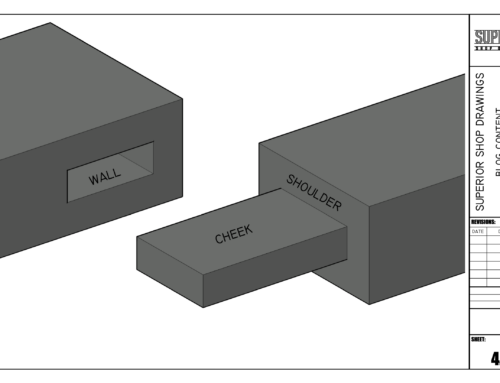
I remember this one particular piece of furniture that required a radius piece of molding. We called this profile “Neon Molding” and it was basically a bead and belly cut into the face of the stock.
The molding needed to be arched in such a way that it kind of looked like it draped off of the bottom of the piece. The arch had to then transition into a straight run.

I had never run a piece of radius molding like that before and I wasn’t quite sure how I was going to make it work with a tall vertical router bit. I gave it some thought and decided to try to mimic a radius table to guide the stock through the bit.
To make this work I had to setup a router on a swing arm to cut my parts, attach them to the router table, then run some trial pieces. The process had worked like I had hoped – for the most part.
The problem with this method was that the profile had become distorted as it passed through the vertical router bit on an angle. The straight sections had to be carved and blended into the radius sections but it looked pretty good when it was finished.
My take away from that experience was that a lot could be accomplished with a router and time.
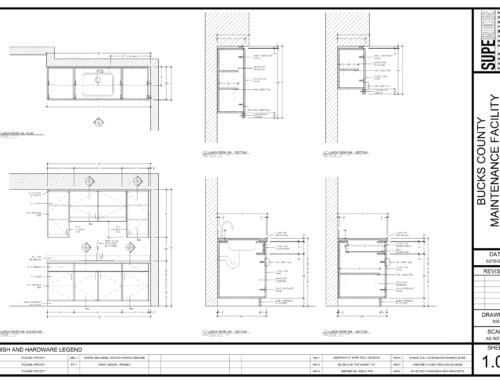
Years later, I found myself in a similar situation with a more complex profile. Unlike before, I wasn’t the person in the shop that had to figure out how to run the radius molding. This time I was sitting in front of a computer modeling up the part in AutoCAD.
This is when I was introduced to 3D Machining in AlphaCAM. Once my 3D Model was drawn up in AutoCAD, I was able to import the part into AlphaCAM and use a variety of bits to carve out the profile.
When the part was programmed, it was an eye opening experience into the power of a CNC Router. Since then I’ve made a variety of complex moldings via CNC that would have taken me hours and hours to make on the shop floor.
There are times when I get nostalgic thinking about the old ways of making molding but, given the right software, it is amazing what a three-axis machine can do.
This simple position allowed him to get his proverbial foot in the door and choose Cabinetmaking as a Career path in High School.
With more than twenty years of combined experience as both a Cabinetmaker and Draftsman - Walt uses his experience to Engineer and Produce Millwork Shop Drawings.
- Millwork Shop Drawings: Training Survey - May 5, 2024
- Optimize Your Shop Drawings: Exploring the Power of theAutoCAD DimSpace Command - December 5, 2023
- The 4 Grades of Kitchen Cabinets: What Does It All Mean? - November 28, 2023

