Every so often, my wife and I will take on the daunting task of finding a babysitter for our kids so that we can go out and visit with friends. It’s during these visits where I’ve had some really interesting conversations about Kitchen Remodels.
These conversations usually come about after a friend has fought a seldom-used serving tray out of the back of a cabinet. Frustrated, and knowing I’m in the Custom Cabinet and Millwork Business, they ask about those drawers that go under the cabinet. The drawers they are referring to are Toe Kick Drawers.
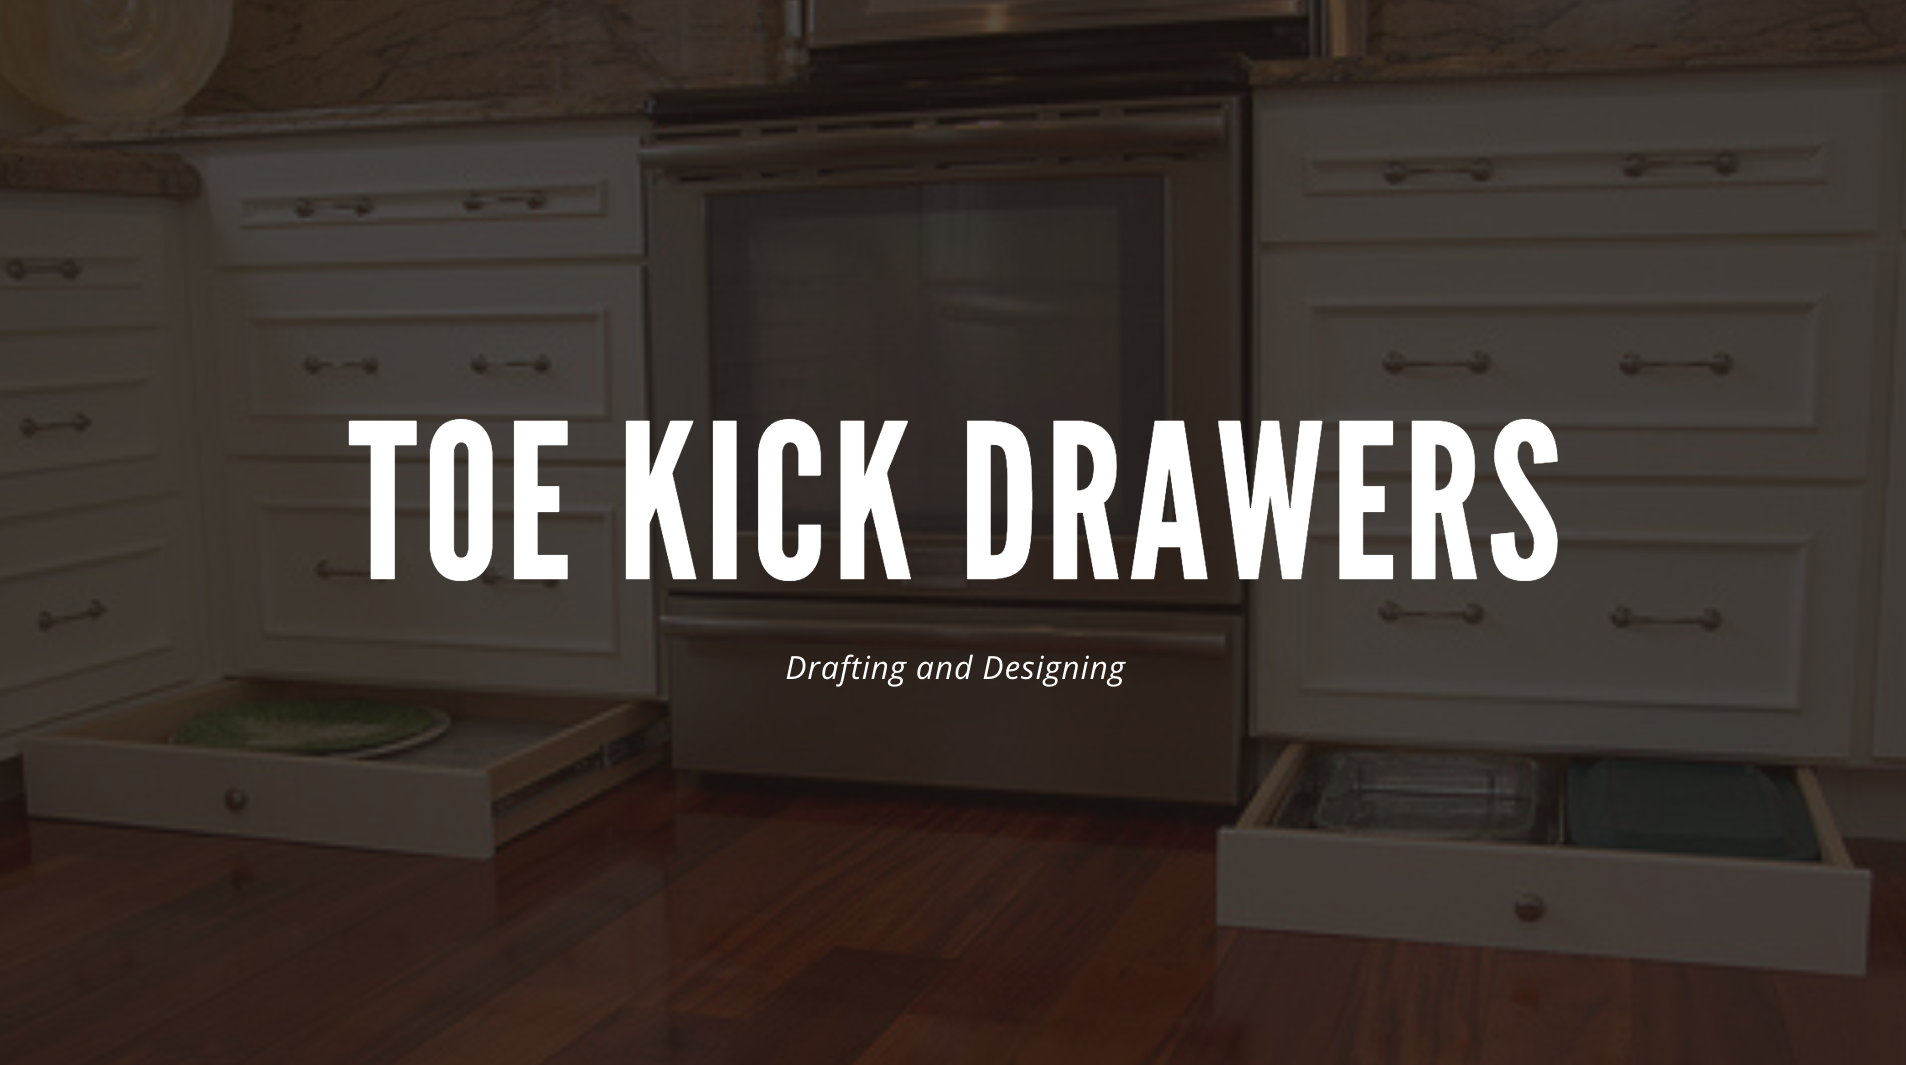
Toe Kick Drawers are utility drawers designed to make use of the dead space under a typical base cabinet. These shallow drawers fit between the cabinet sides and virtually disappear when not in use. They can be fitted with hardware to function as a traditional drawer or utilize hands-free options.
In this Blog Post, we’re going to take a closer look at Toe Kick Drawers so that we can better understand how to incorporate them into your next project.
Selecting Hardware
Before we can begin drawing our Toe Kick Drawers, we need to make some hardware selections. The first of those decisions is in how we want to go about opening our drawer – do we want to see a knob/pull or should the drawer be as seamless as possible? In this example, we’re going to eliminate visible hardware and make the drawer disappear when closed.
Next we need to determine if we want to see the drawer slide when the drawer is open. An under-mount slide will be less visible but it will result in a shallower drawer box as it takes up space below the box. A more visible option is a drawer slide that mounts to the side of the drawer box. A side-mount slide will be clearly visible when the drawer is open but it will result in more height inside the drawer box. In this example, we’re going to allow for more interior height and go with a side-mount slide.
In the drafting and design section below, we will be using the KV4430. This is a Full-Extension Side-Mount Drawer Slide with a Push to Open feature.
Drafting and Designing Toe Kick Drawers
The most important aspect of Designing Toe Kick Drawers is to remember that you have limited space to work with. A typical Toe Kick is 4″ High and set back 3″ from the face of the Cabinet. Of these two dimensions, the height is the one that will cause you the most grief because several variables can result in a very shallow interior drawer box size.
Things such as Hardware Selection, Floor Clearance, Drawer Bottom Offset, and Drawer Bottom Thickness can easily eat up 1-3/4″ of interior space. That is nearly half of your original 4″ Kick Height!
In the following sections, we’ll try our best to maximize the allotted space and provide storage for more than a cookie sheet or two. To make each view larger than usual, I’ll only be showing the lower portion of the cabinet, this will allow us to blow up the part that matters – the Toe Kick Drawer.
Plan View
Generally speaking, Toe Kick Drawers are not shown on the Plan View. This is because the point of view is generally above the Counter Top and there is a lot between the counter and the Toe Kick Drawer, so it doesn’t make a whole lot of sense to show it there. This isn’t to say you couldn’t provide a Plan Section through the drawer.
For the sake of our example, I have drafted up a Plan Section to help visualize what is going on in the Toe Kick Space. Here we can see how the Drawer Box is set in from the Case Sides to allow for our hardware. We can also see how the Toe Kick Setback effects out Drawer Box Depth.

Elevation View
To help visualize our Toe Kick Drawer, I have drafted up two separate Elevation Views. The first shows the finished product – with Doors and Toe Kick Fascia on our Framed Cabinet. The second shows what it would look like if we removed the Doors, Face Frame, and Fascia. This gives us a better look at how the drawer is situated in the opening.
If you were working with Frameless Cabinets and Leg Levelers, we would need to incorporate runners to mount our drawer slides. This would require our Leg Levelers be pushed out more than usual or it would limit the drawer box width.


Section View
The last drawing that we need to produce for our Toe Kick Drawers is the Section View. Here we get a good look at how our Interior Drawer Height has been affected by our earlier decisions. It is worth noting that the type of flooring, and how level it is, will determine how much clearance you need below the drawer. In my experience you should try for 1/4″ minimum clearance below the drawer.
As you can see in the drawing, I have opted to use a Drawer Box that is larger than the Drawer Slides. This will maximize the space and allow us to fit larger items in the drawer. Keep in mind that the selected slide with only extend 18″ and we loose 3″ of that to the overhand of the cabinet. This isn’t something I would do on a standard drawer but in this case I feel it is a good option to make the most of the allowable space.

We’re Here to Help
It is our hope that you now have a solid understanding of Toe Kick Drawers and how to utilize them in your next project. As always, if you have any questions or would like to see another topic covered here on Superior Shop Drawings – drop us a line in the comment section below!
Photo Credit
- Feature Image Background: EdgeWood Cabinetry
- Millwork Shop Drawings: Training Survey - May 5, 2024
- Optimize Your Shop Drawings: Exploring the Power of theAutoCAD DimSpace Command - December 5, 2023
- The 4 Grades of Kitchen Cabinets: What Does It All Mean? - November 28, 2023
